The construction
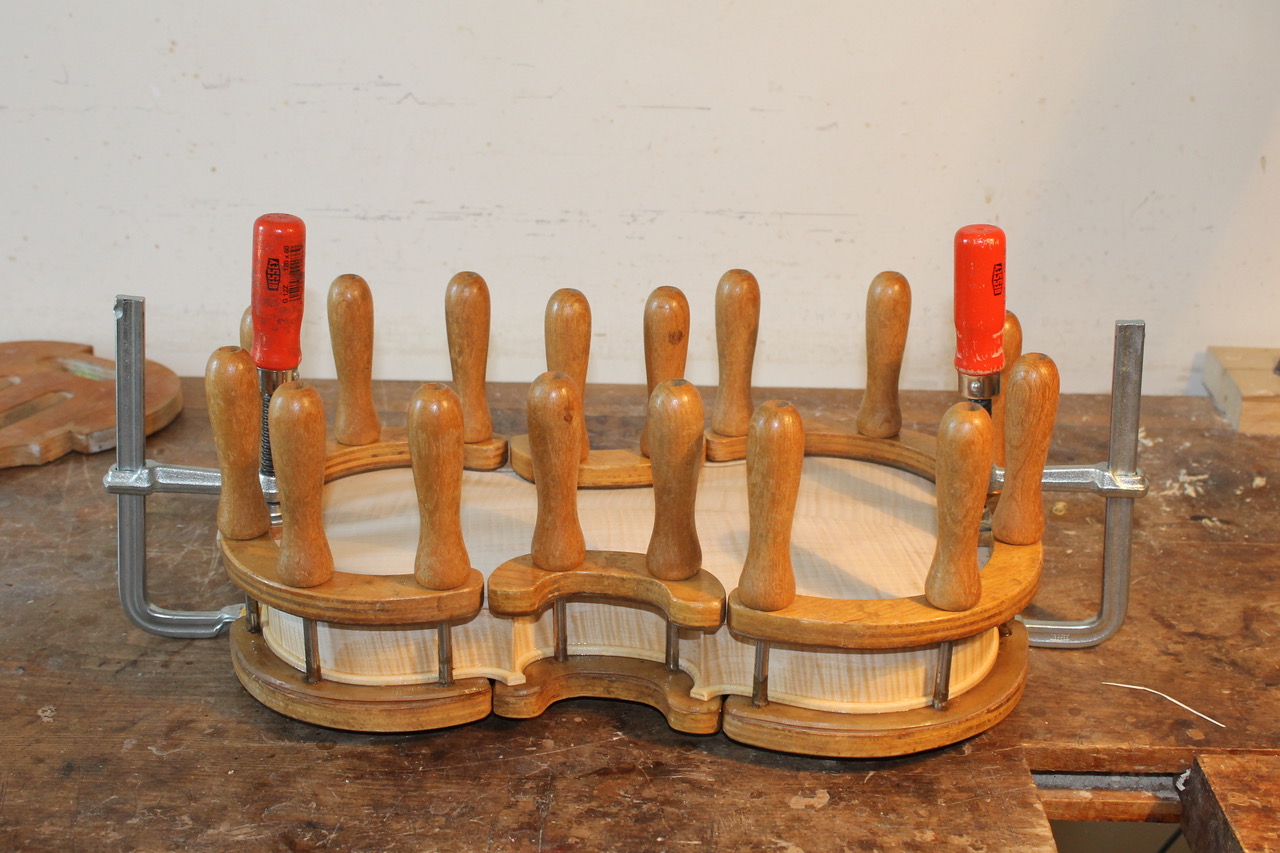
In addition to the choice of model, the choice of wood has a strong influence on the sound of the instrument.
The construction method of each instrument that is made follows a fixed number of steps. Below is a detailed explanation of what these steps entail.
Step by step
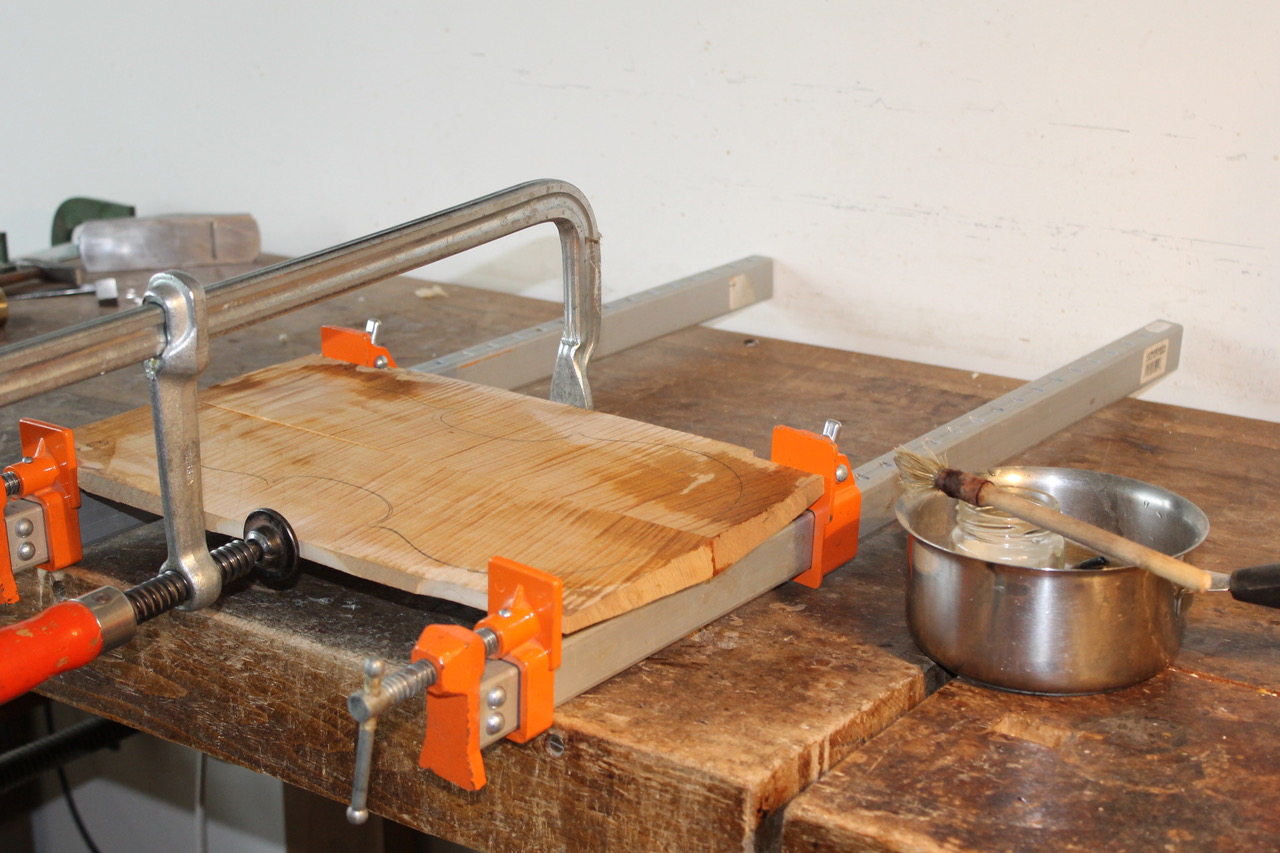
1. The two most crucial factors for a new instrument are, firstly, the choice of the model and, secondly, the choice of wood. The front panel, or the table, is made of carefully selected spruce, and the back panel, as well as the scroll and ribs, of maple. Both the front and the back panel consist of two arts which have to be joined (after they have been carefully planed to fit together) and then glued and clamped.
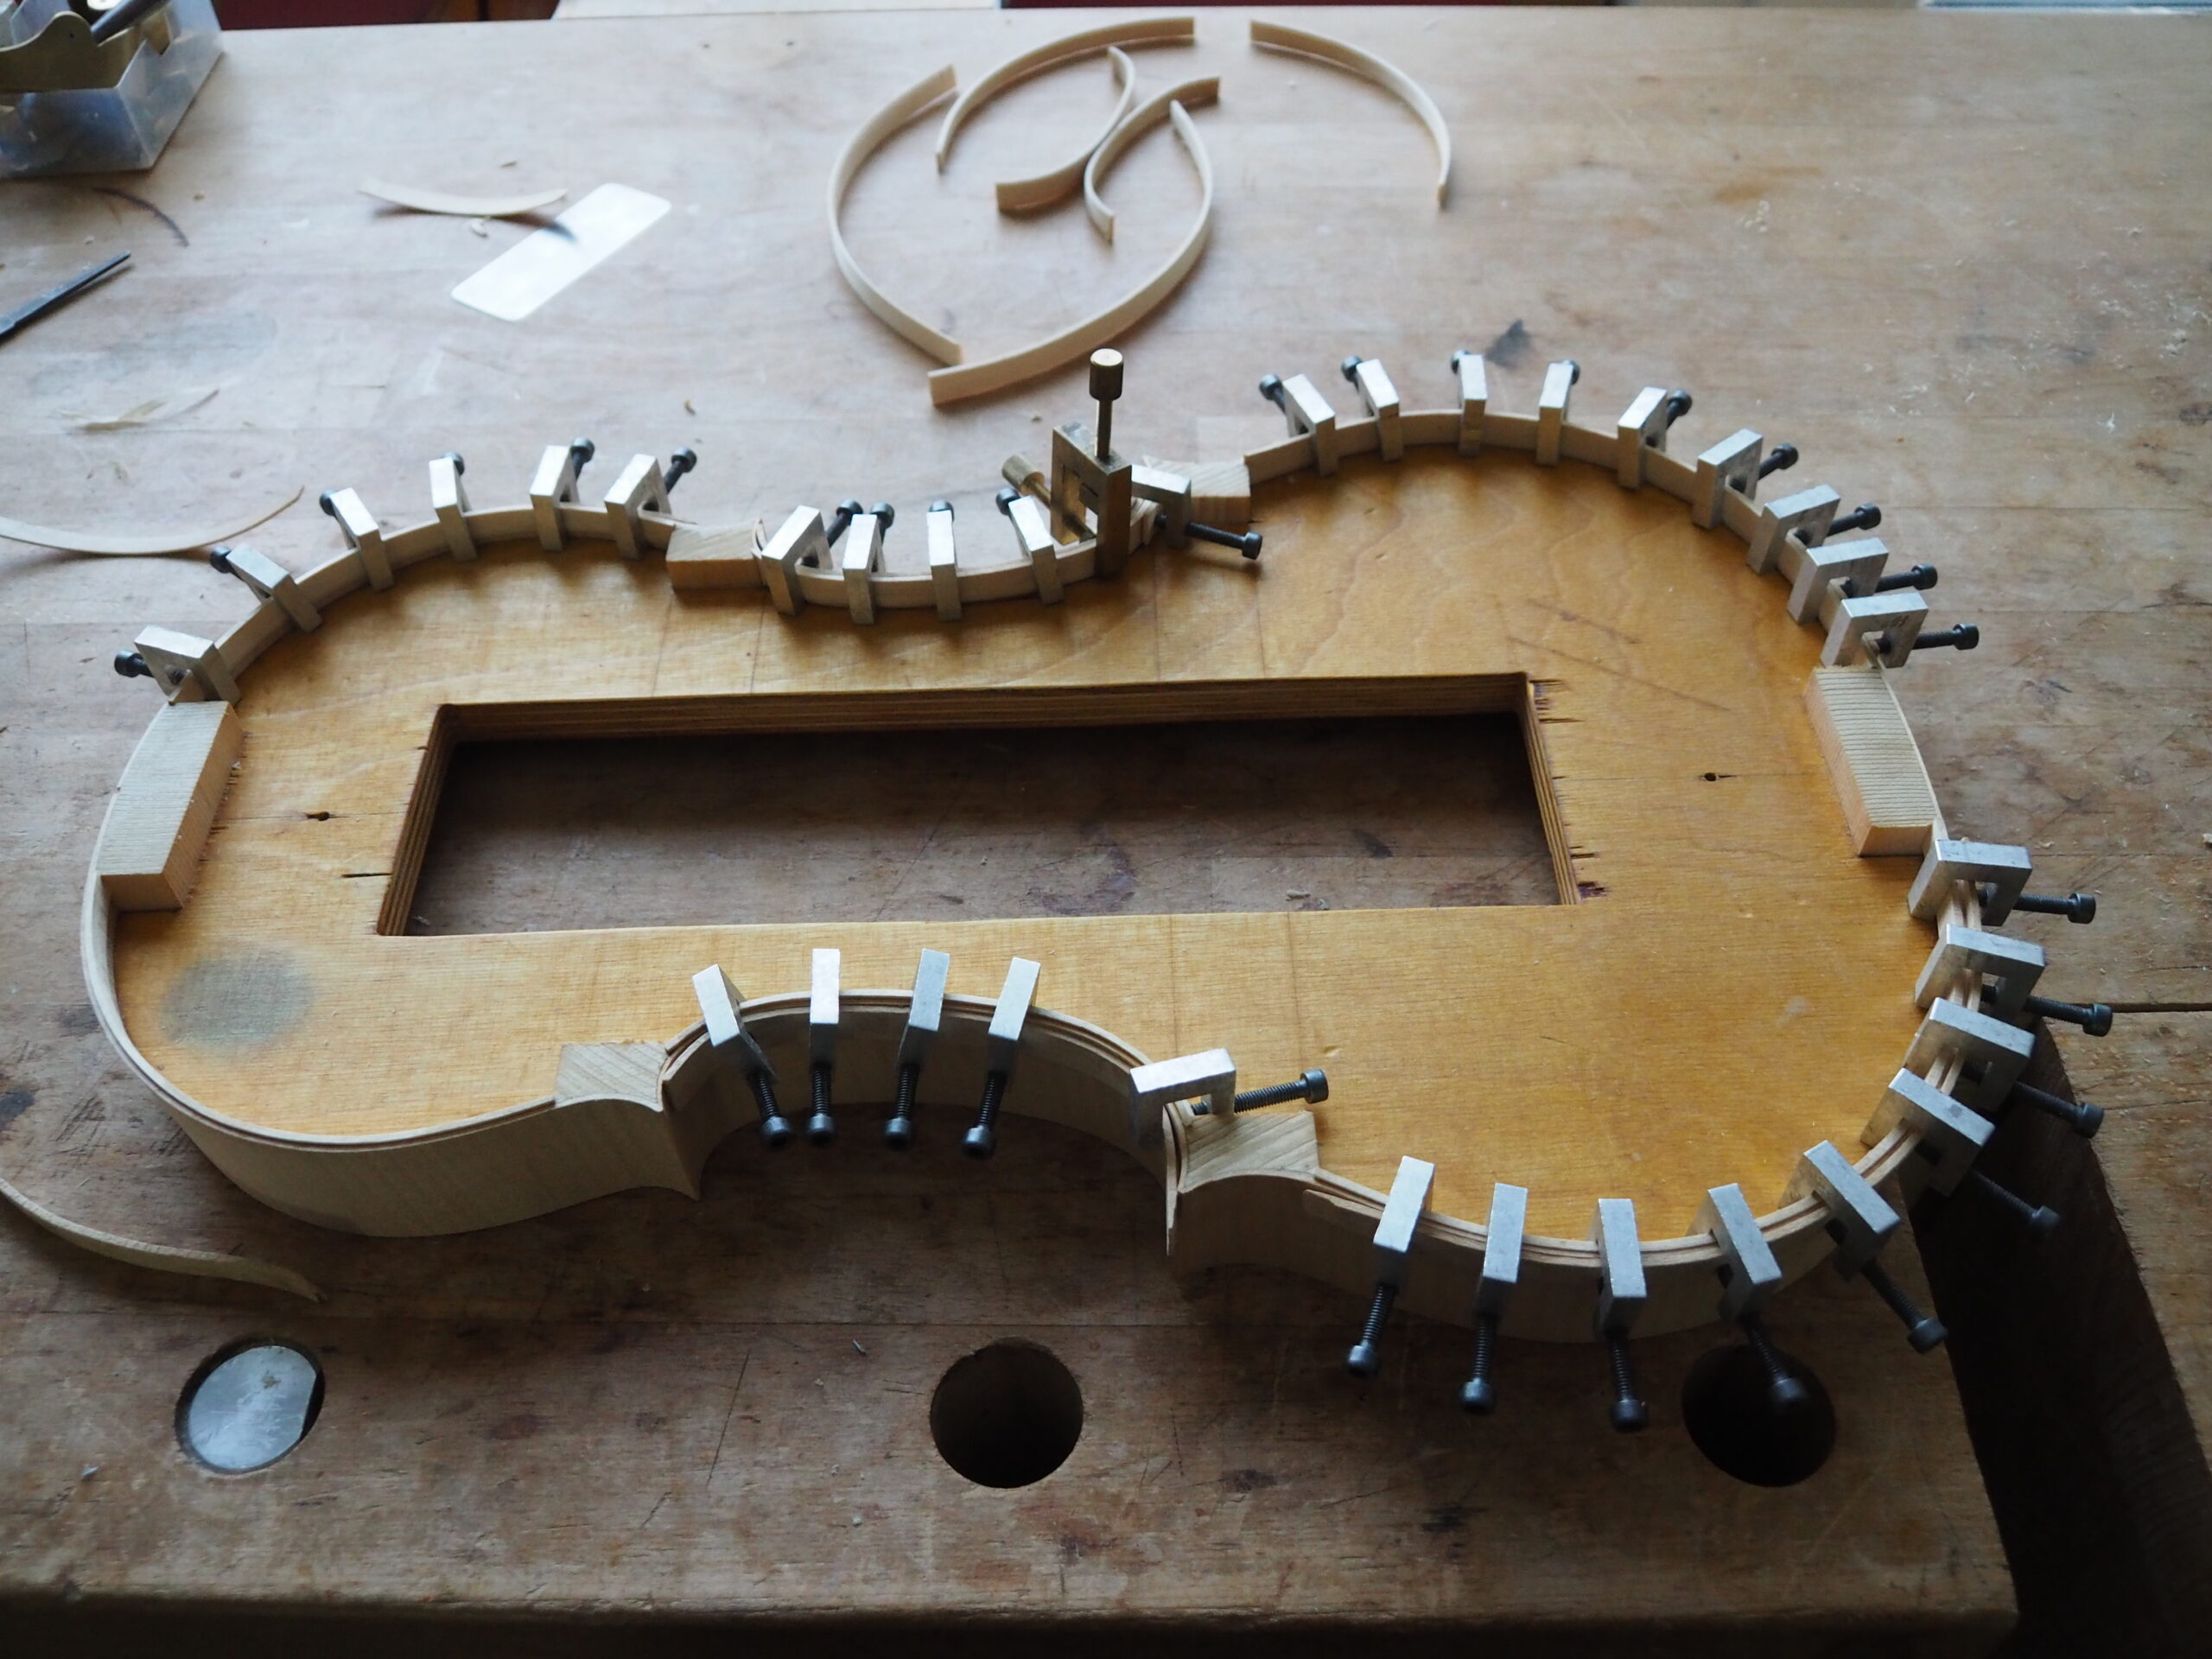
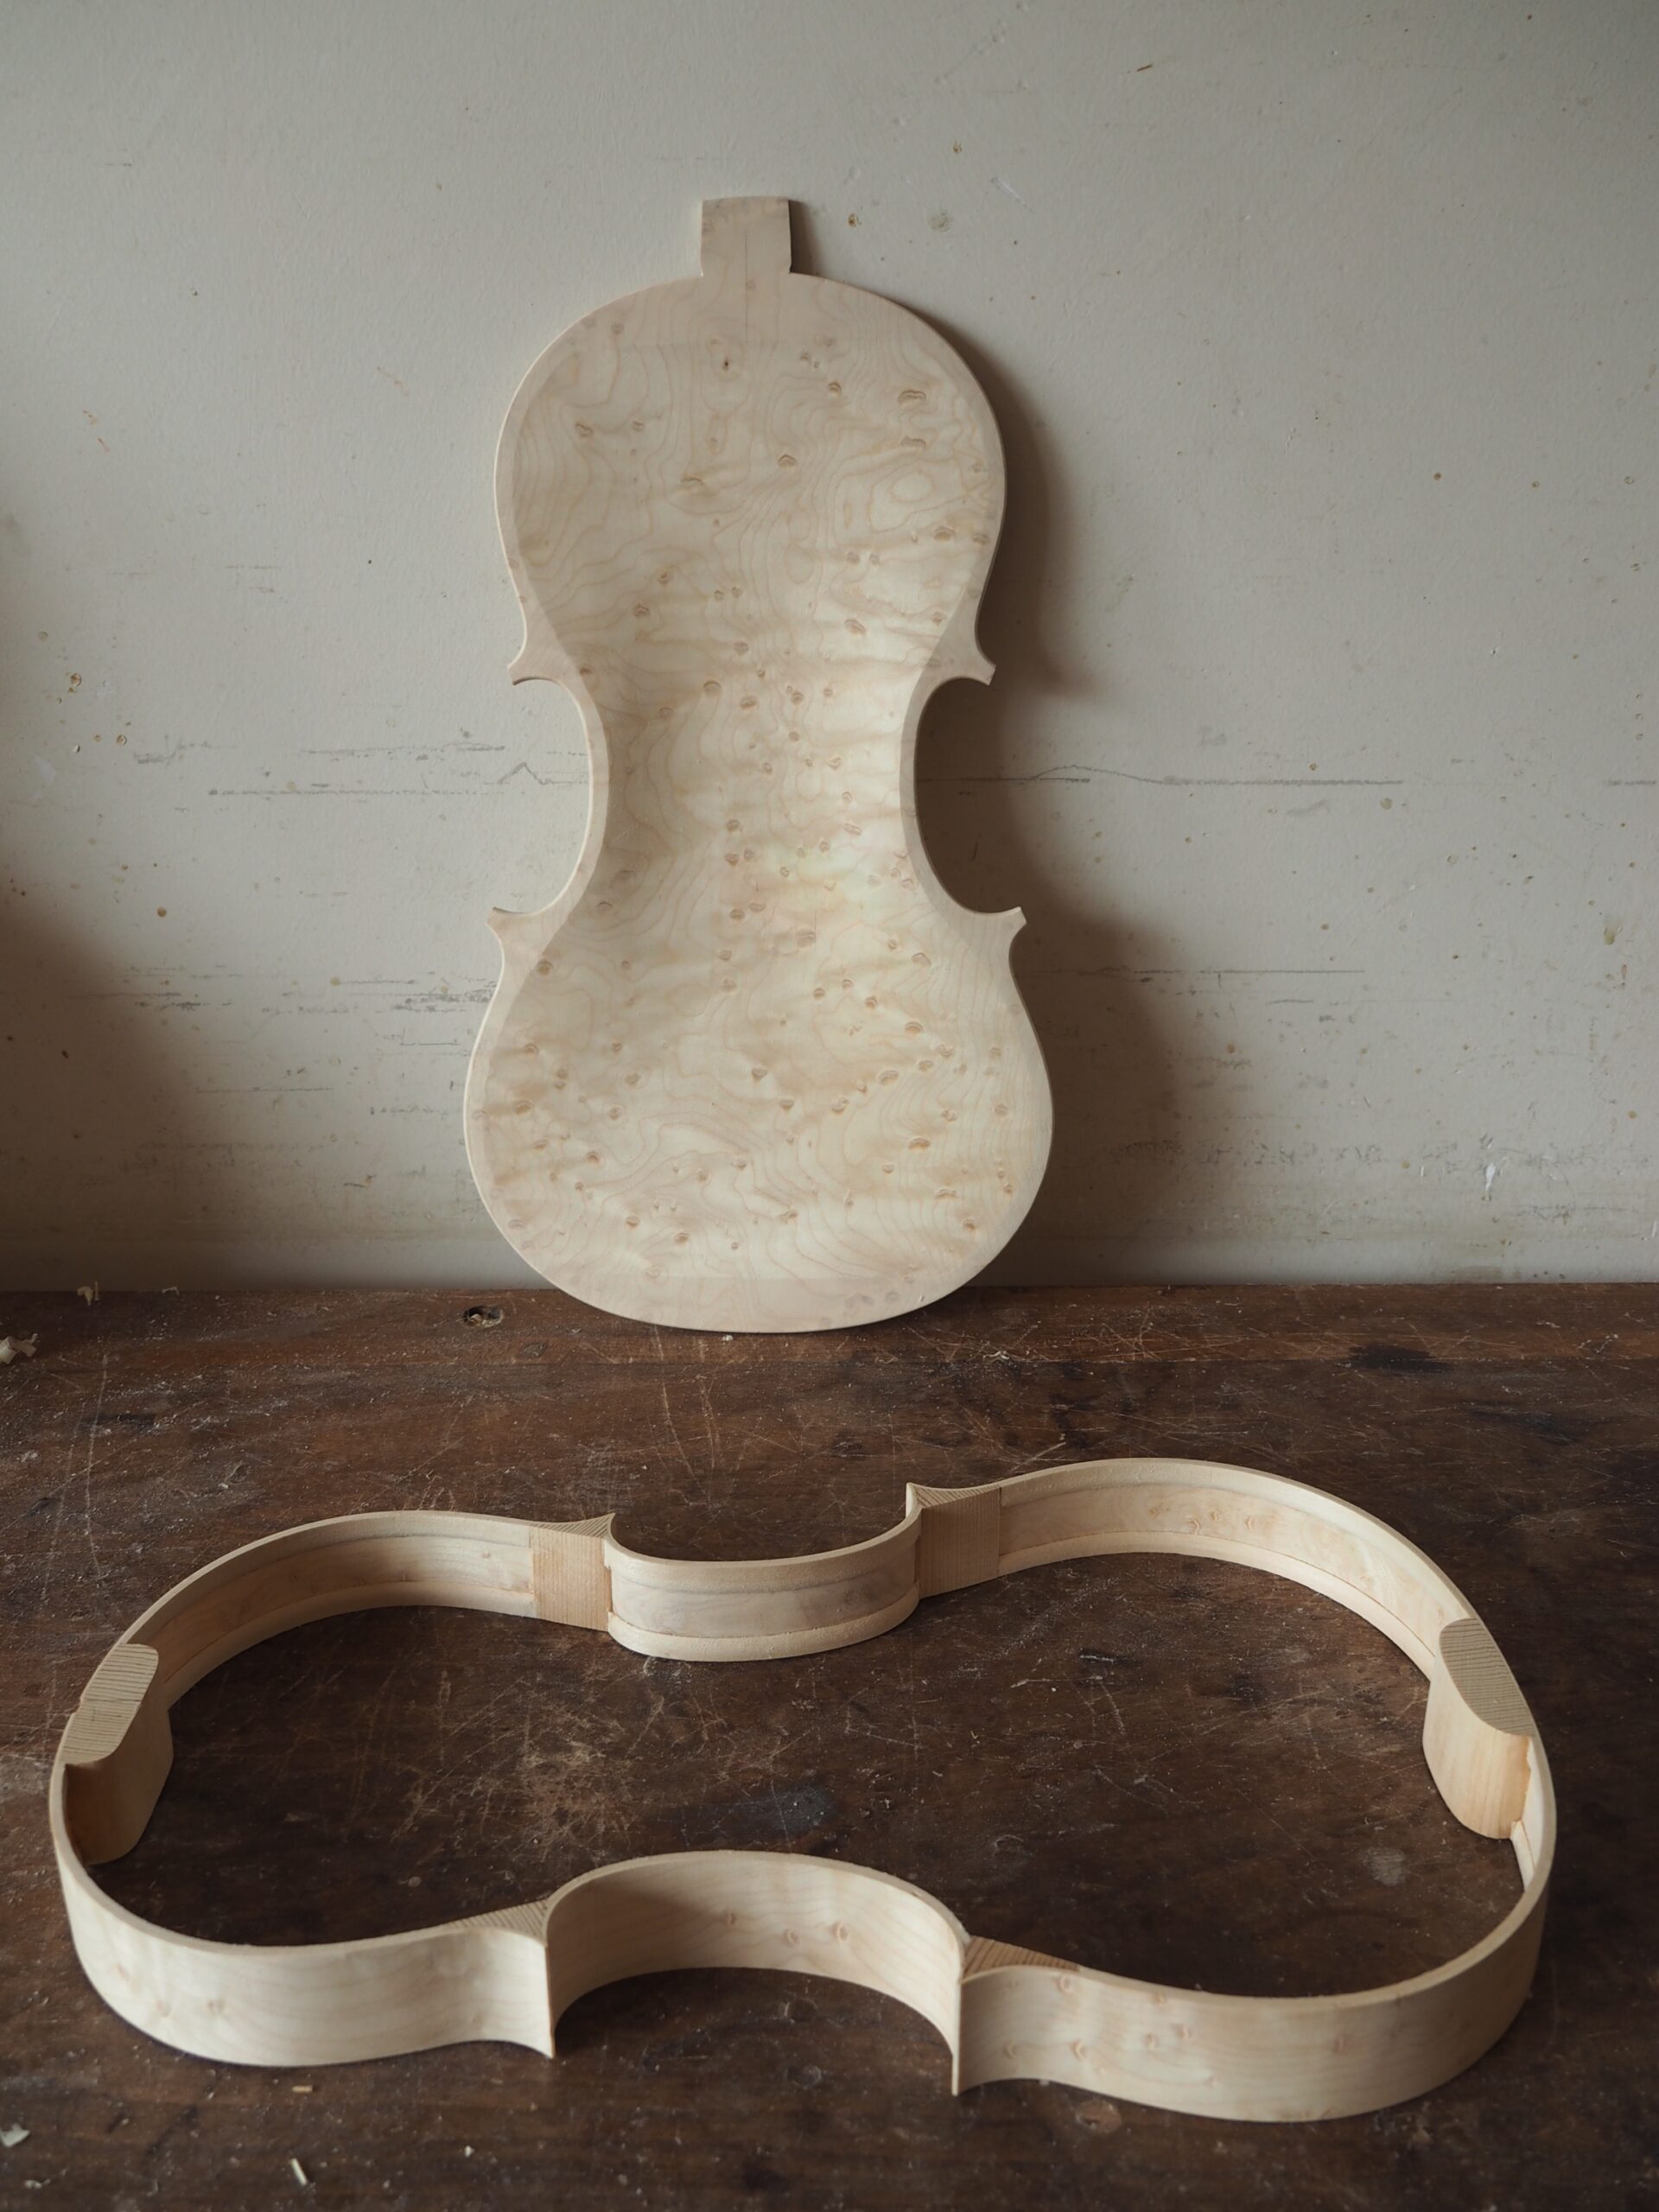
2. The ribs are planed to the right thickness and subsequently bent to shape round a heated bending iron until they fit around the mould. Blocks are attached at the top, the bottom and the corners of the ribs. The adjoining photo shows that strips of wood, or linings, are glued along the inside edges of the ribs for reinforcement. Later, when the front and the back panel are completed, the mould is removed and the blocks are finished.
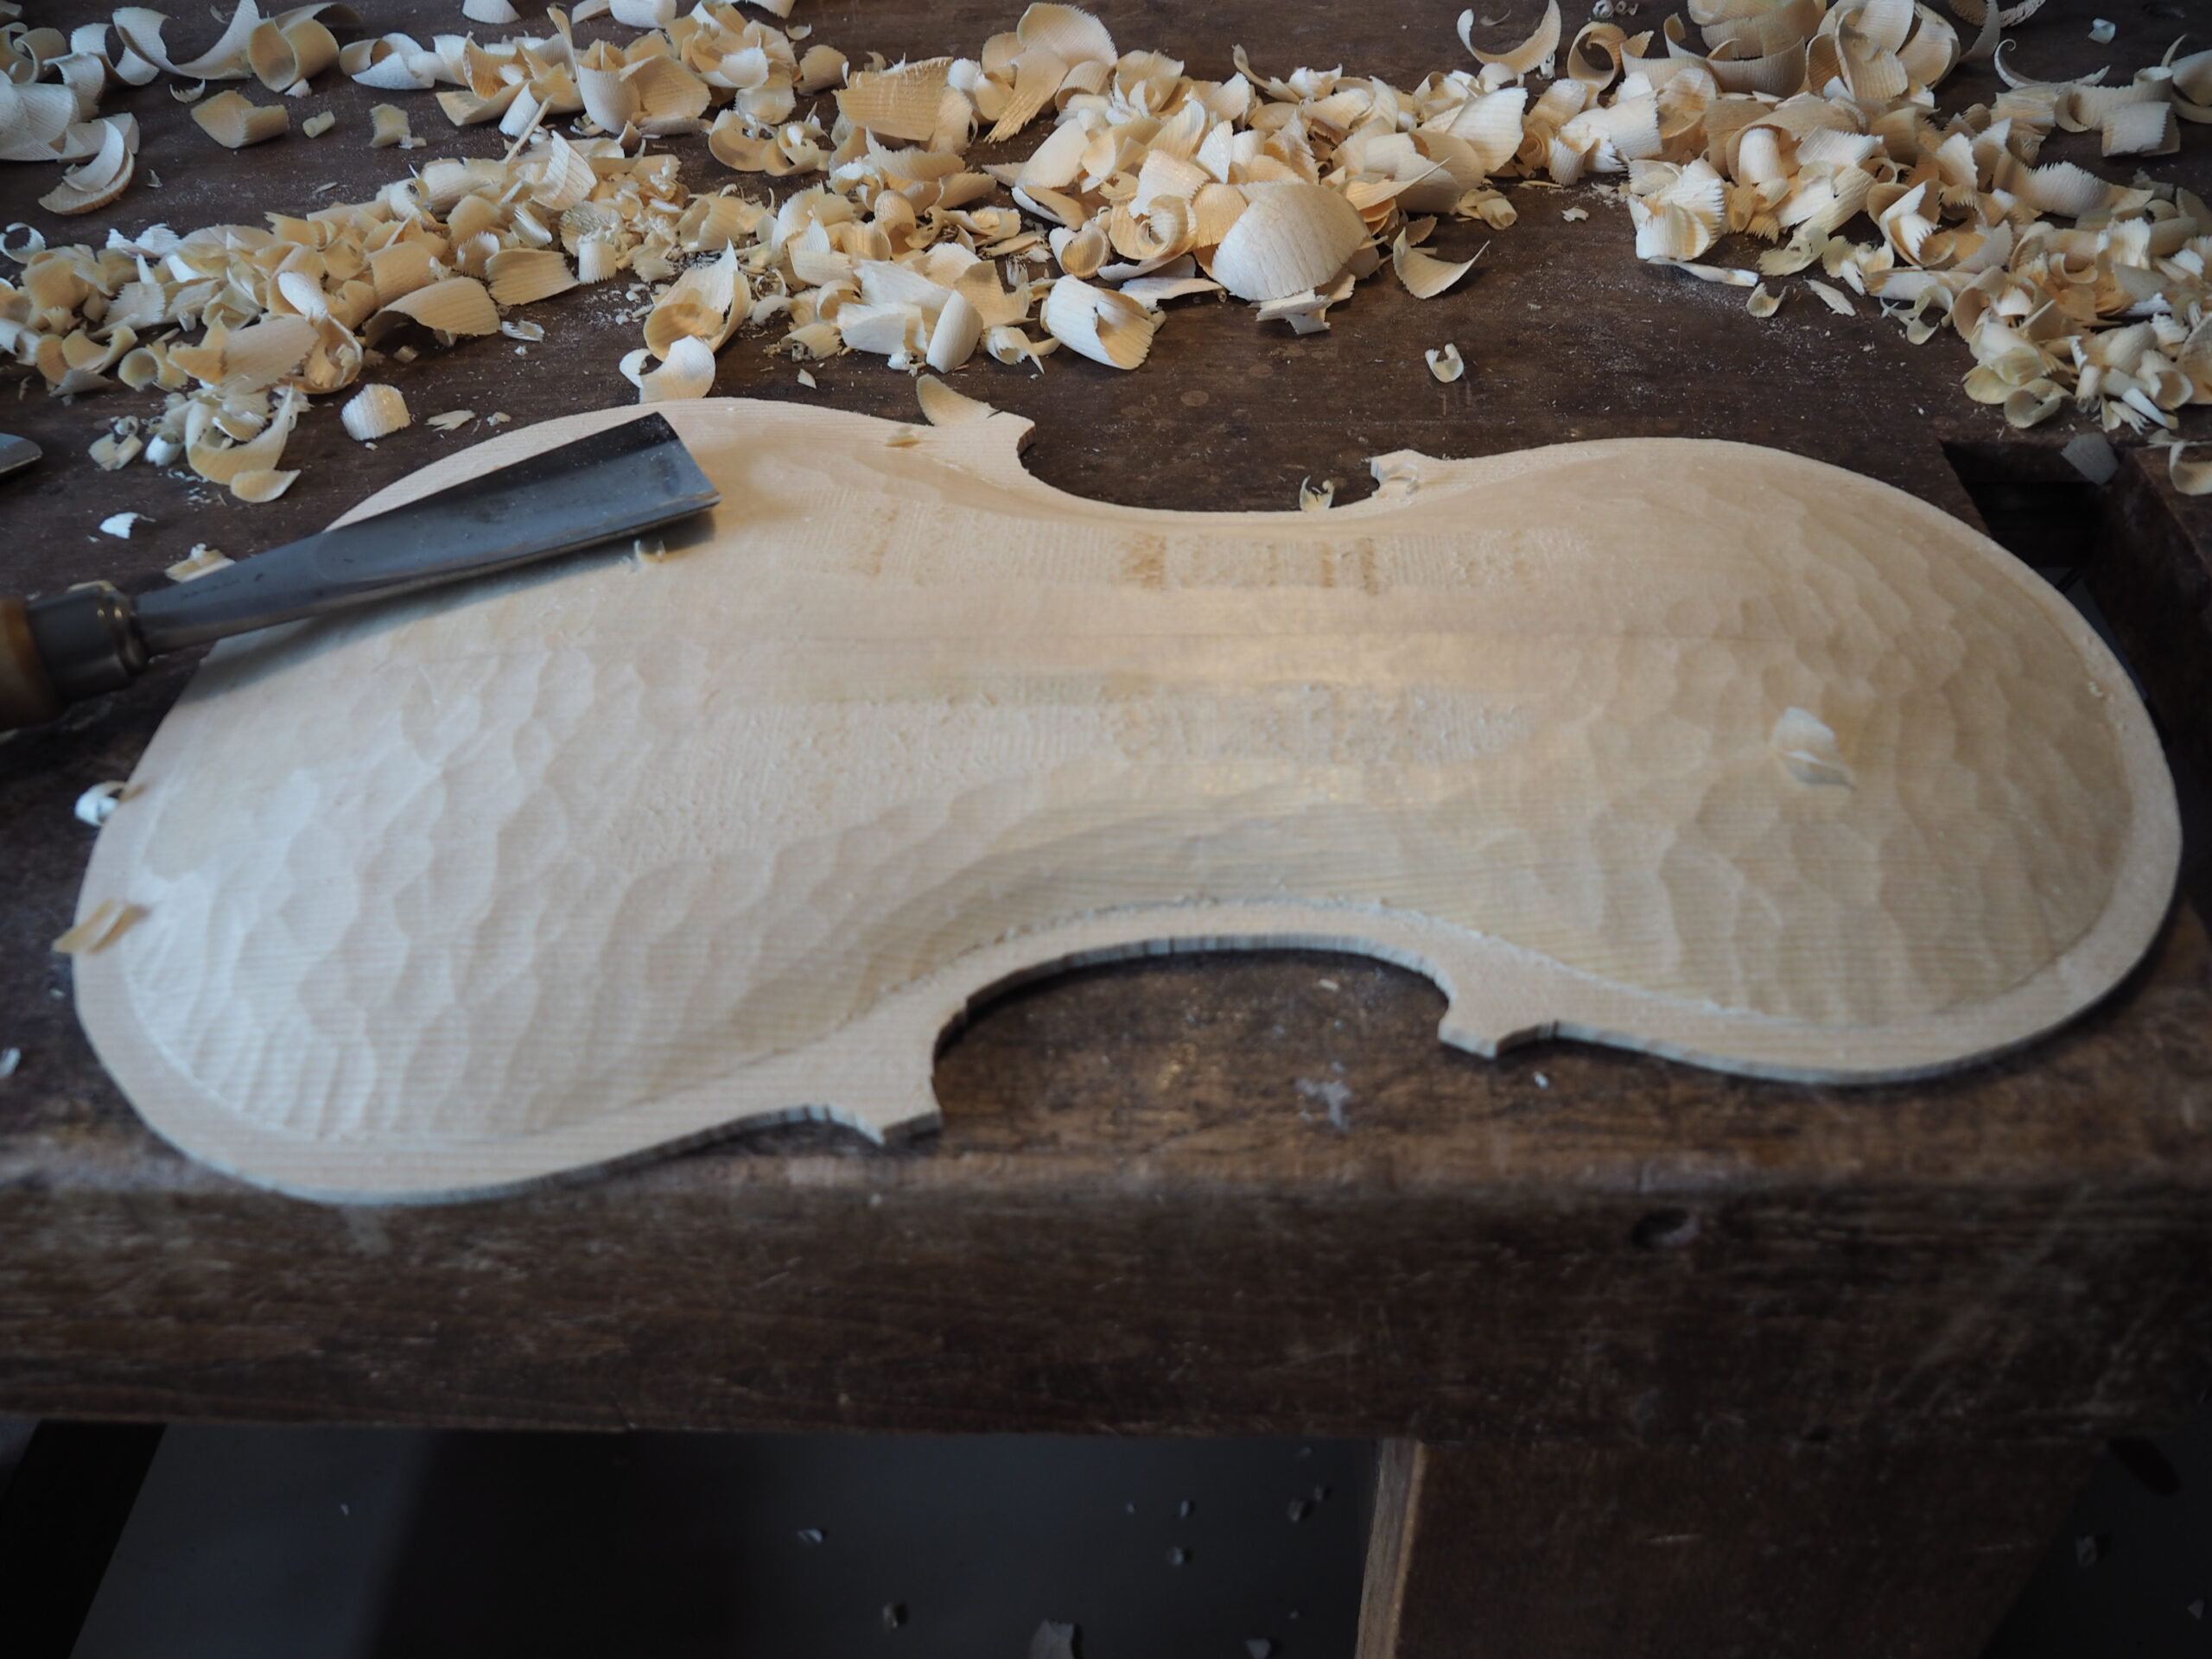
3. When the two halves of the front and the back panel have joined, and both panels planed and cut out, the shaping of the arching can be undertaken. By the use of a gouge and later small planes one can make beautiful gauge lines. When the outer sides of the panels are finished the inside can be gouged out and the variation of the thickness finally completed. Many factors play a role in determining the sound: the height, the kind of arch, the distribution of the thickness, the flexibility and tone frequency of the front panel all play a role.
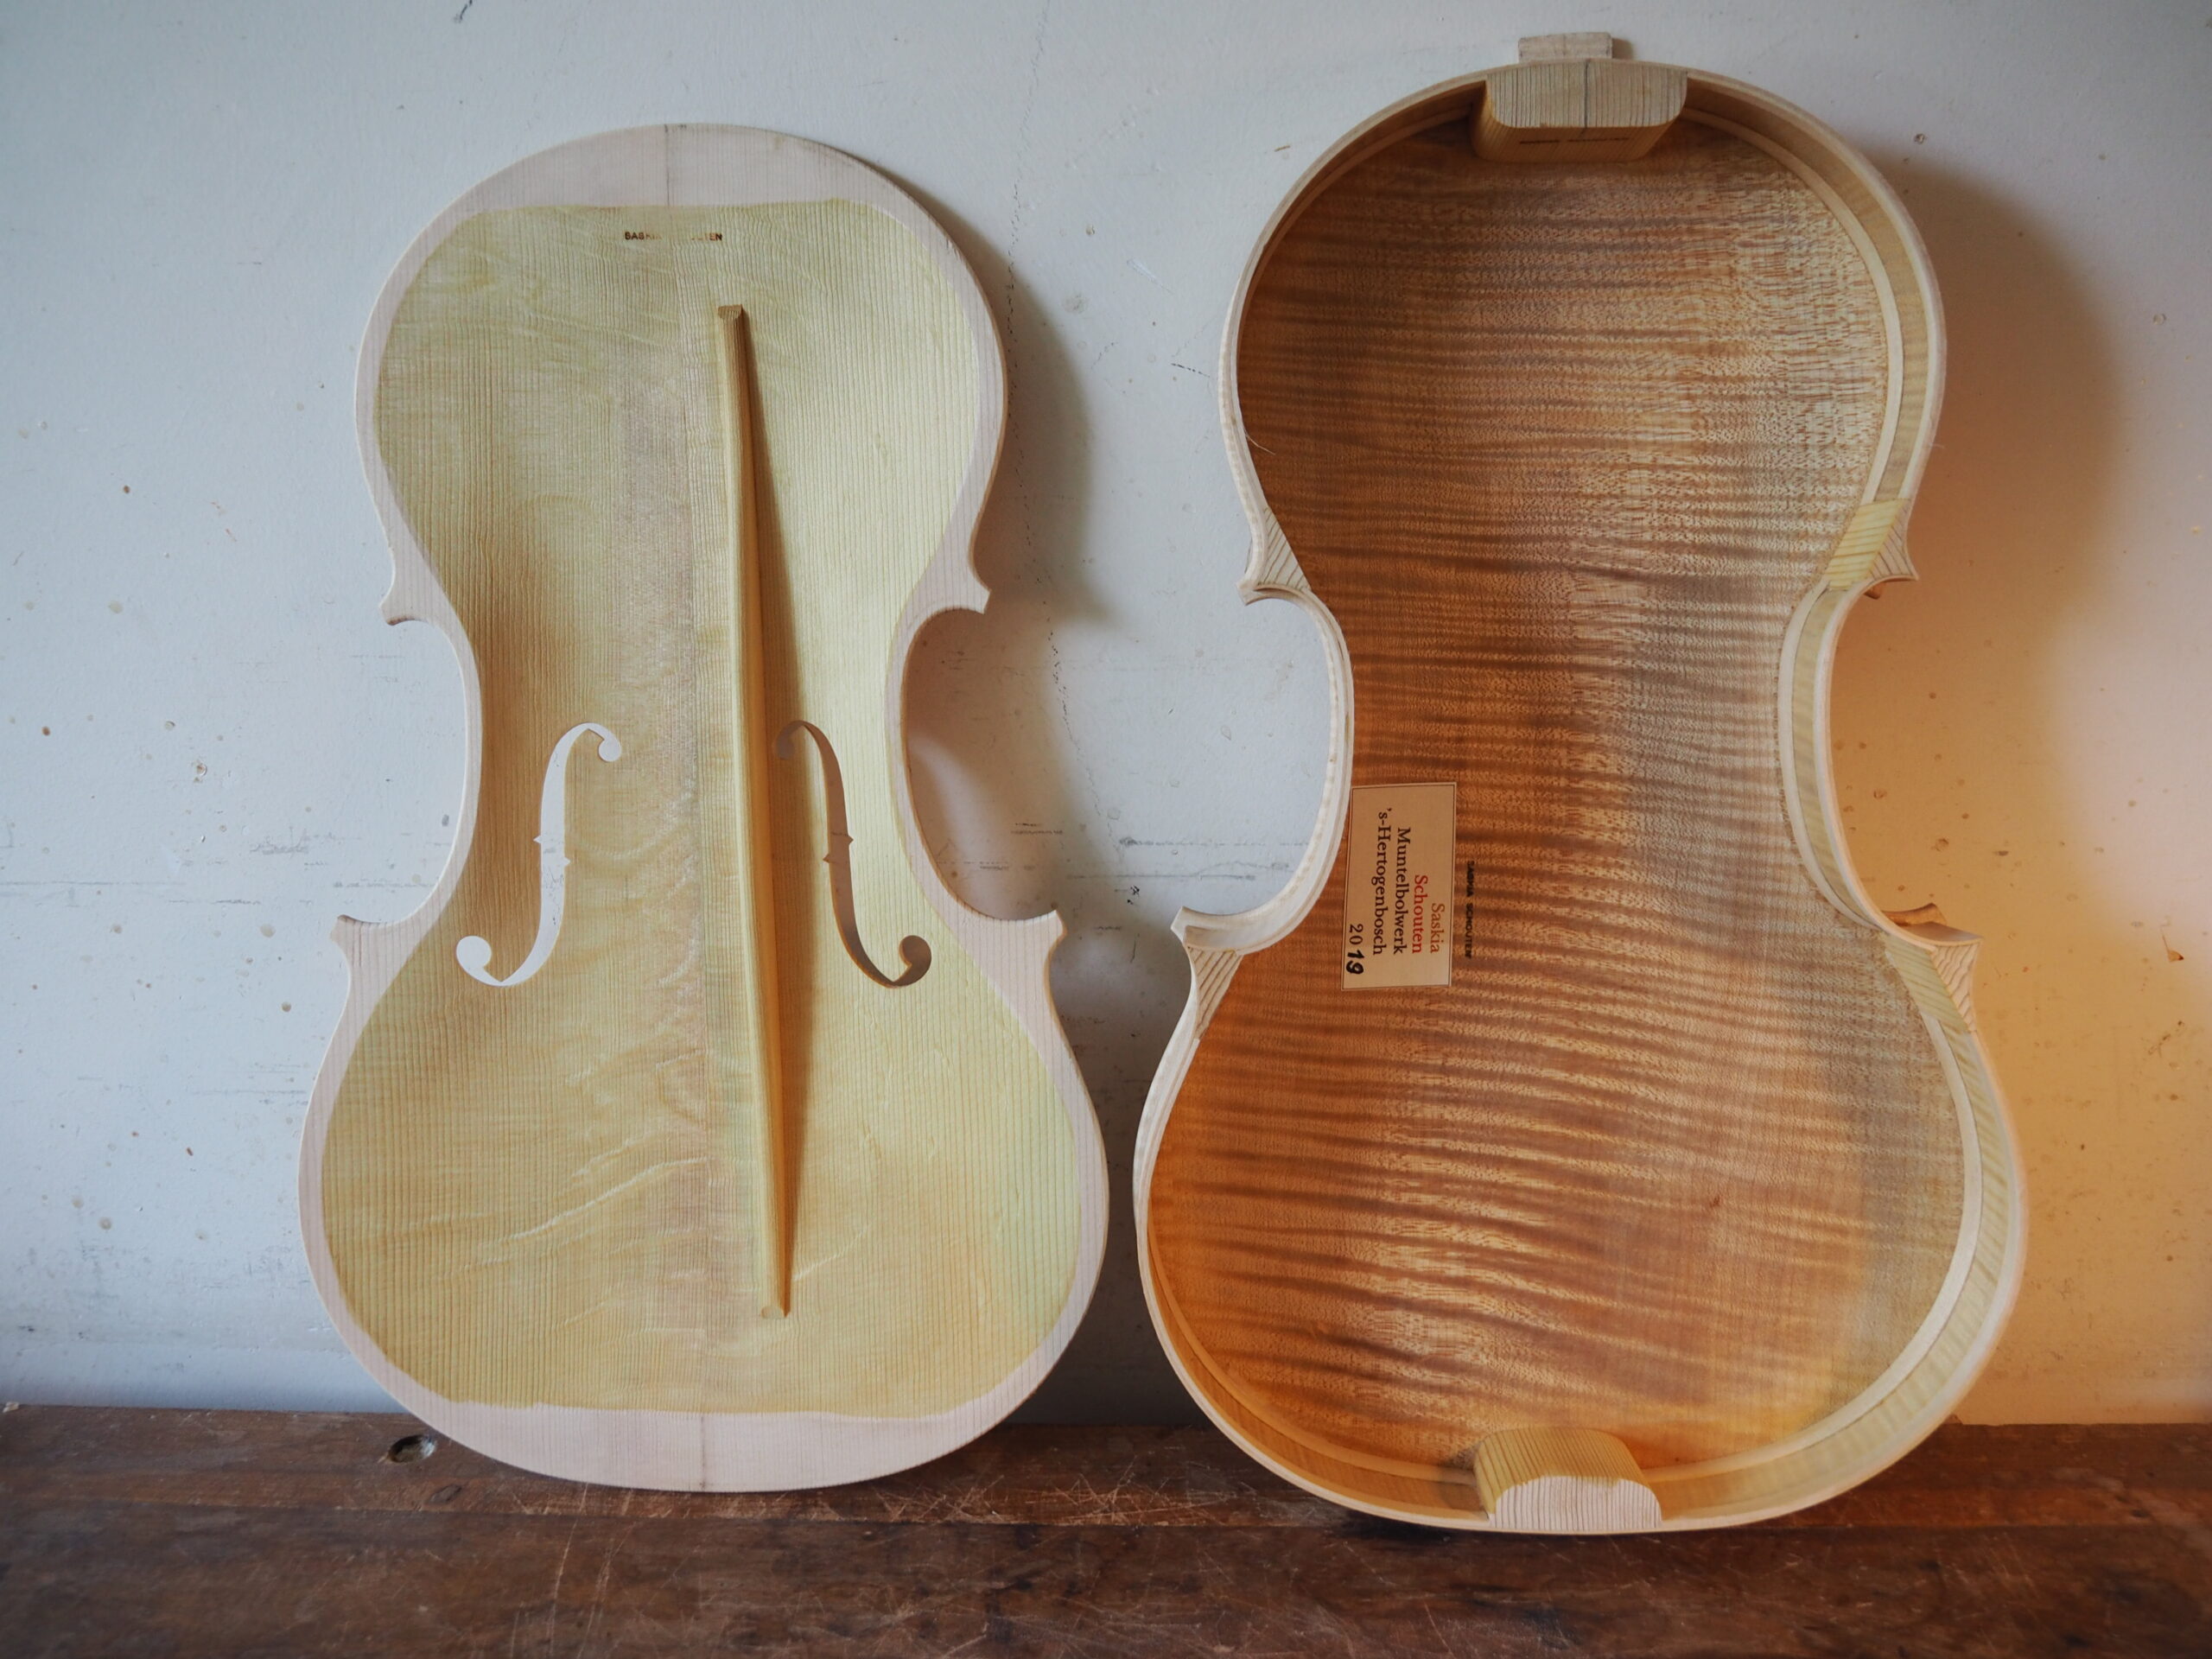
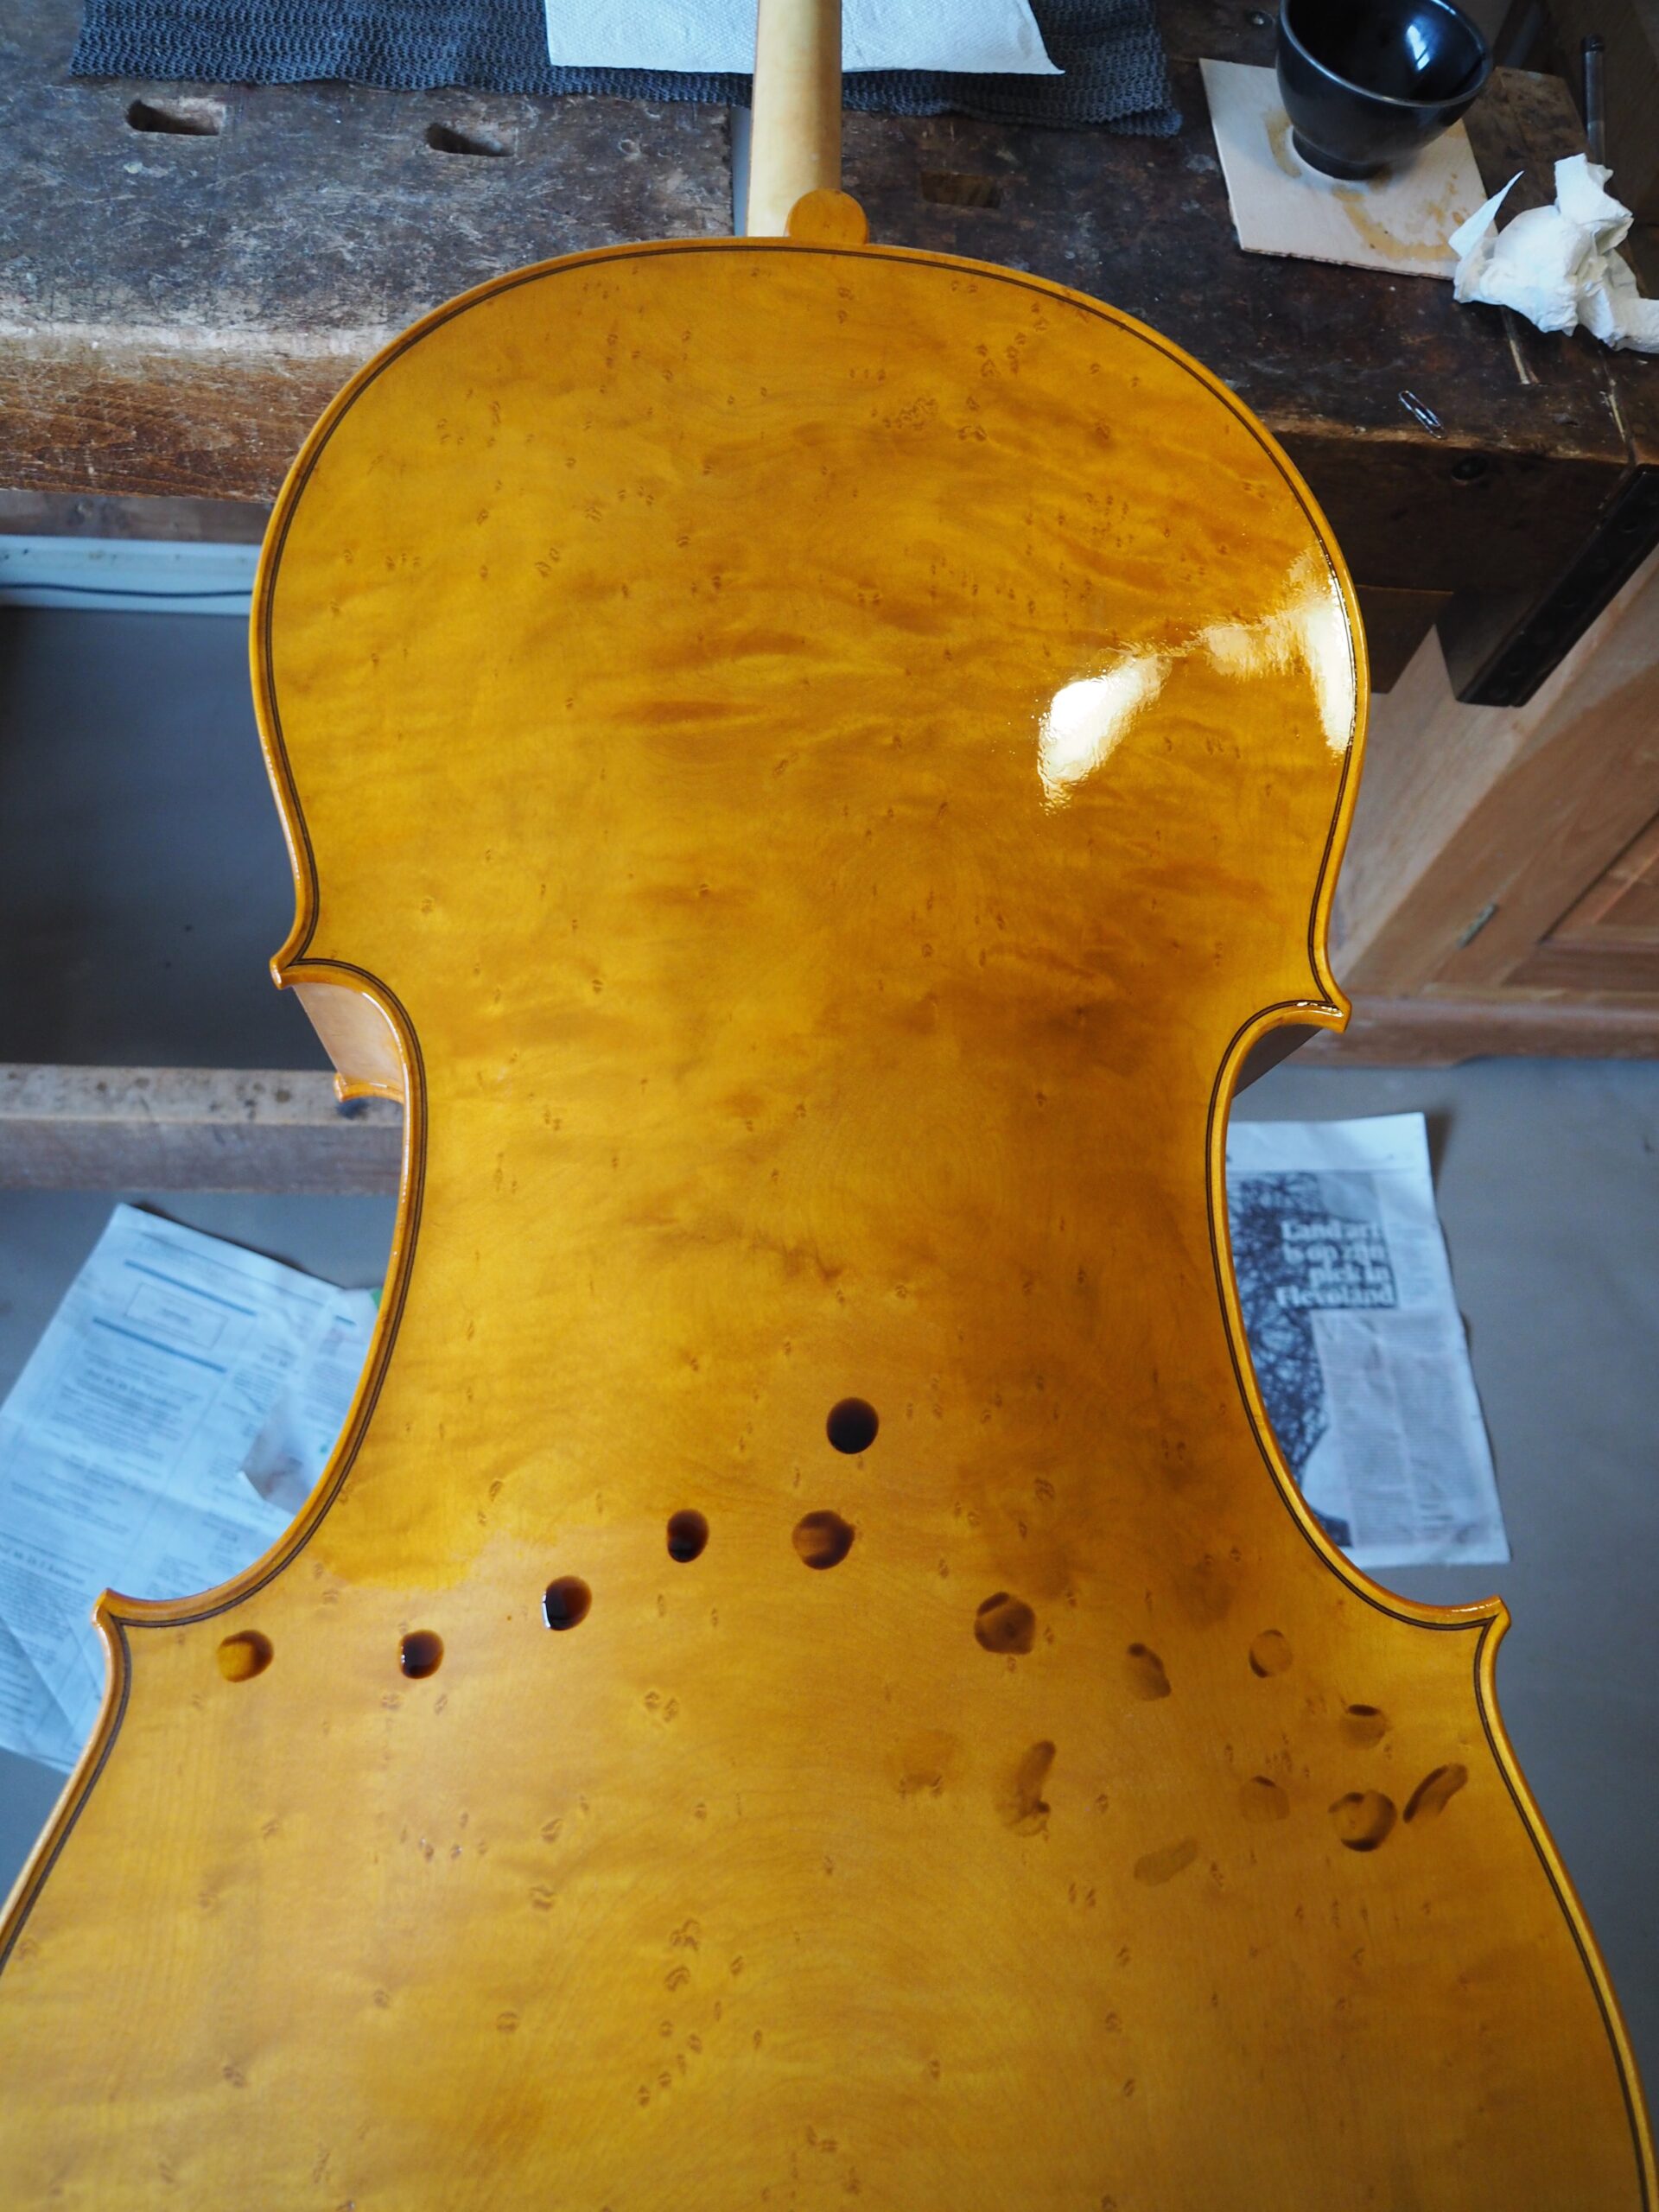
4. The F-holes are cut in the front panel and the bass bar is glued in and finished. Naturally these elements also contribute to the sound. The adjoining photo shows the back panel which has already been glued to the ribs and the inside to the table ready for the next step.
5. The sound body is glued together: a festive moment!
6. Meanwhile the scroll and neck have been carved and the neck has been fixed in the body at the correct angle to the front panel. This angle determines how much tension will be placed on the bridge.
Then the painting process begins. In the first place, the lacquer serves to protect the instrument. But it also enhances the external beauty of the instrument. The paint should not be too thick, too hard or too soft. Above all, it has to look attractive, an endless search for the ideal ratio of ingredients: the ideal colour, consistency and thickness of the lacquer.
The maker
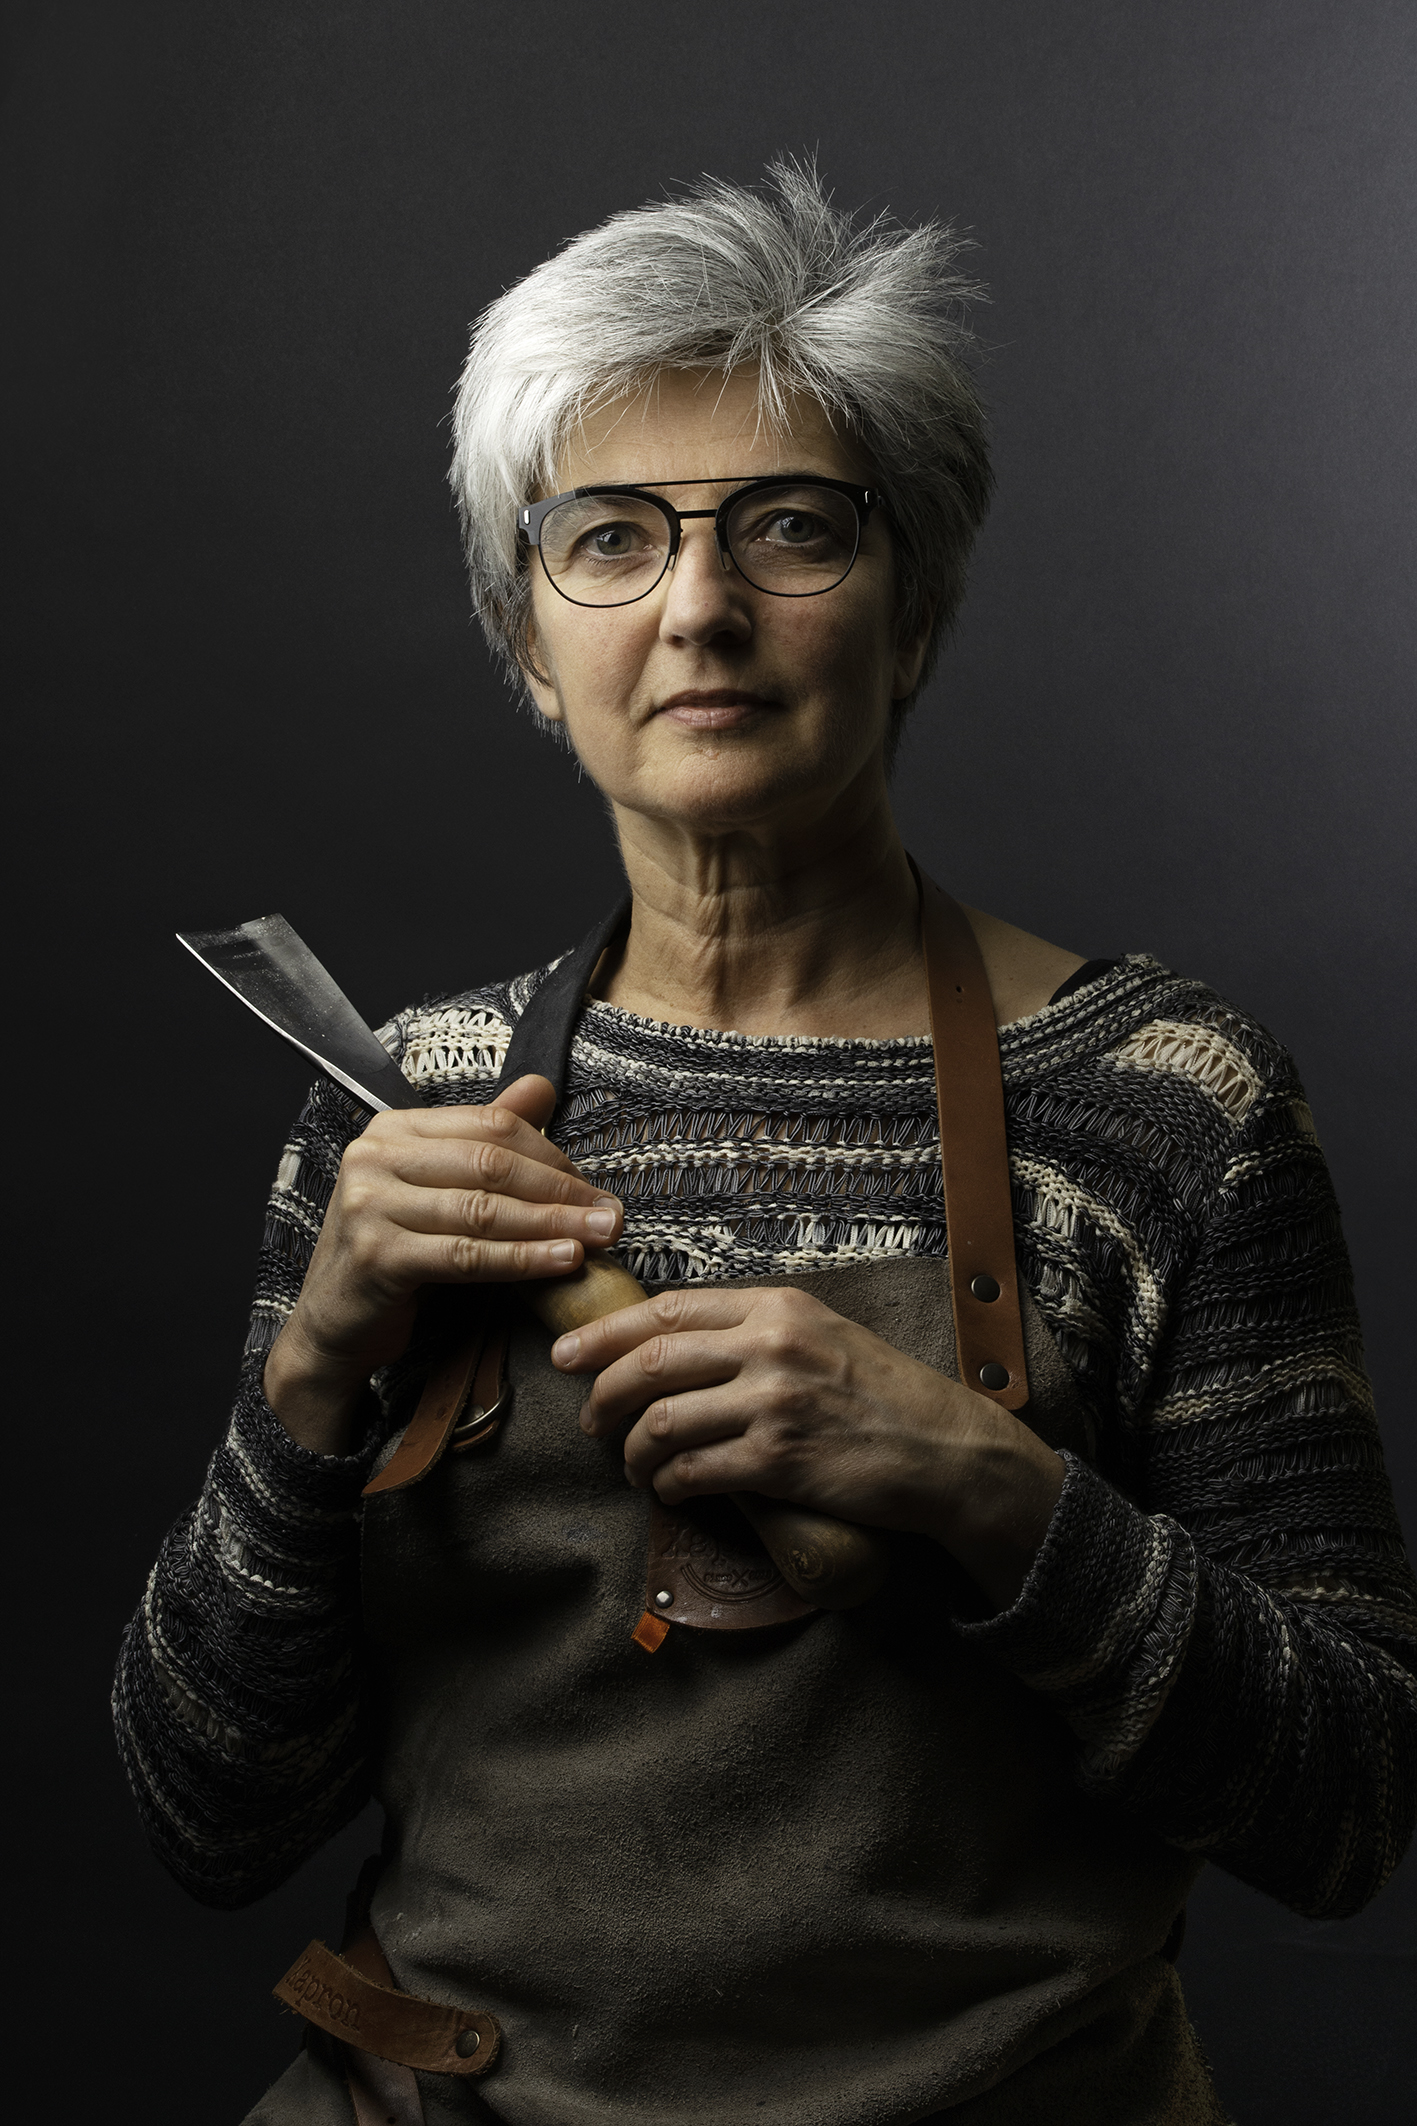
Read more about Saskia Schouten
the maker of these instruments

Contact
+73-6121804
+316 18174015 info@saskiaschouten.nl
Studio
Muntelbolwerk 1c
5213 SZ
's-Hertogenbosch
